

How To Put The Shapes On A Particular Texture In Photoshop
If yous want to spice up the look of a shape in Photoshop, adding an outline (aka "stroke") can do only the trick. There are a multifariousness of fast and piece of cake means you tin can add strokes to a shape, whether you want to outline with colors, gradients, or patterns. Ane of the easiest ways of outlining a shape is using a solid colored stroke.
To outline a shape in Photoshop, select your shape layer in the Layers Panel and press U to agile the shape tool. In the upper settings bar, click the Stroke setting and choose an outline color for the shape. With a color chosen, adjust the stroke width via the stroke width box.
Using the bones Stroke settings as well equally playing with the different Layer Styles options, you tin create fun, beautiful shapes for any project yous're working on. The mode options are nearly endless: you can create sparse or thick outlines, color them with gradients, or fifty-fifty a specific texture or pattern. Yous can even add multiple outlines to shapes to really make them popular. Let's explore all the ways we can outline a shape in Photoshop.
How To Outline A Shape In Photoshop
one. Create A New Shape Layer
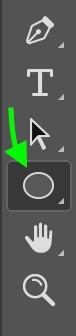
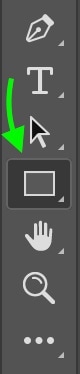
Let's brainstorm with the basics and create our starting time shape. To create a shape in photoshop, start by selecting the shape tool from the toolbar on the left. Click and hold the icon down to pull up the different shape options. The options are Rectangle, Ellipse, Triangle, Polygon, Line, and Custom Shape.
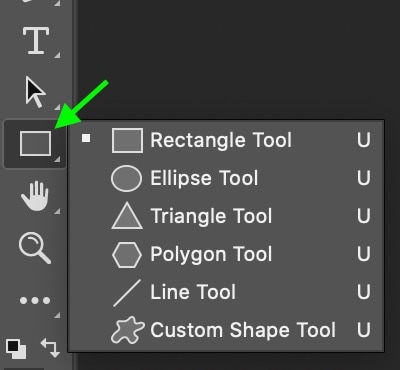
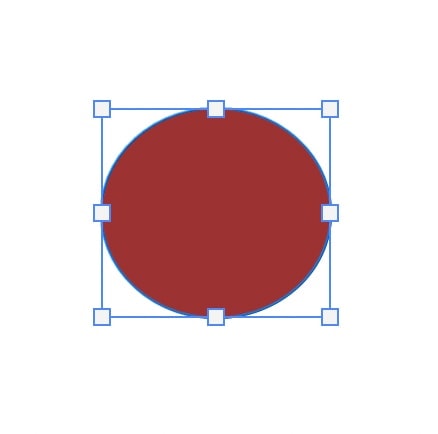
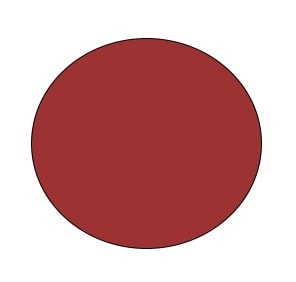
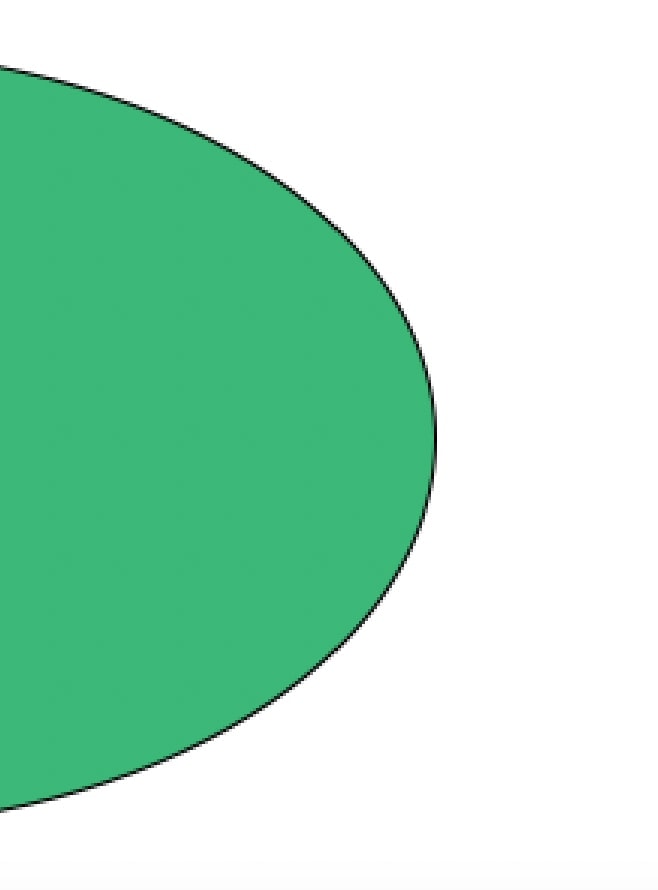
Click the i you'd like and depict your shape. I chose Ellipse. If you need to change the color of your shapes, this post will show yous how.
ii. Select A Stroke Color
At present that nosotros've made a bones shape, we can get to piece of work on the shape'due south outline. In the toolbar at the top, you can add and edit the outline to your shape using the Stroke settings.

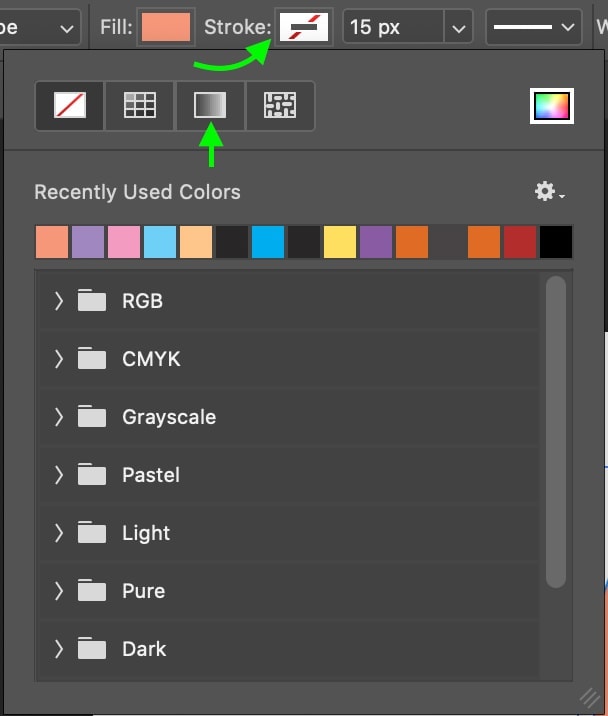
Outset, yous can cull a color for your stroke by clicking the box but to the right of the word Stroke. In the box that comes upwards, you lot can select a color from either your contempo color swatches under Recently Used Colors or from the color picker box on the right.
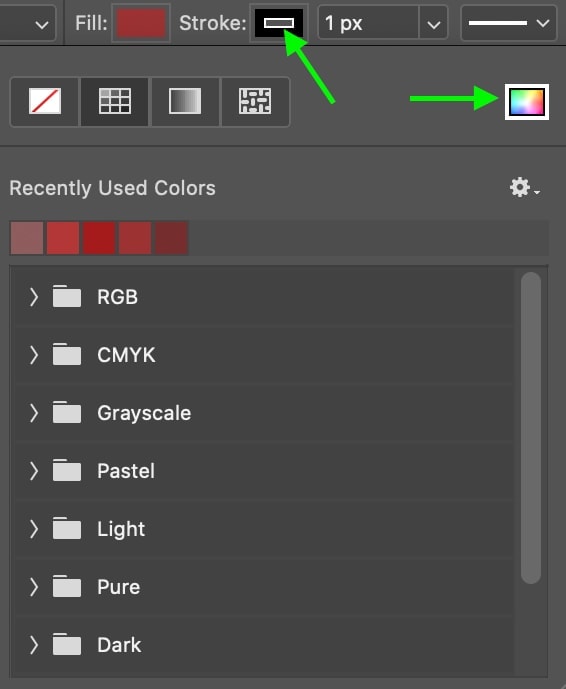
There are dissimilar means you tin can edit the stroke's colors using the four boxes at the superlative.
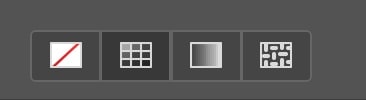
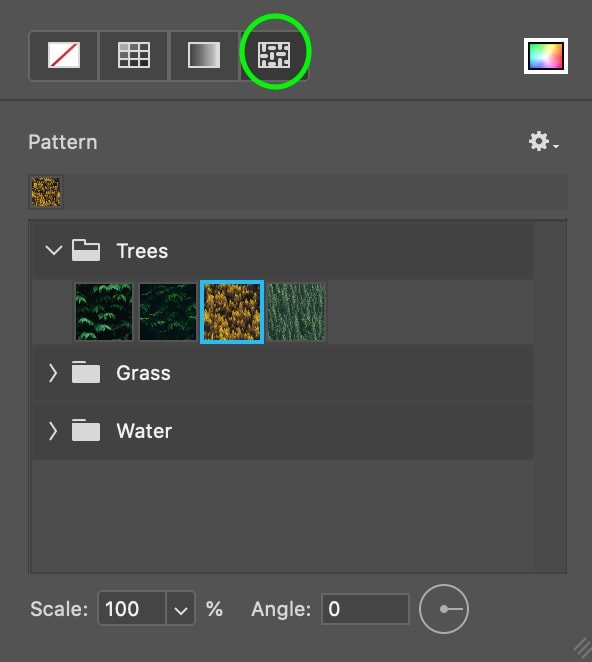
The first removes the outline from your shape, the second adds a colored outline, the third creates a color gradient, and the fourth gives you options for patterns to add to your outline such as h2o or leaves (more than on those last two options later).
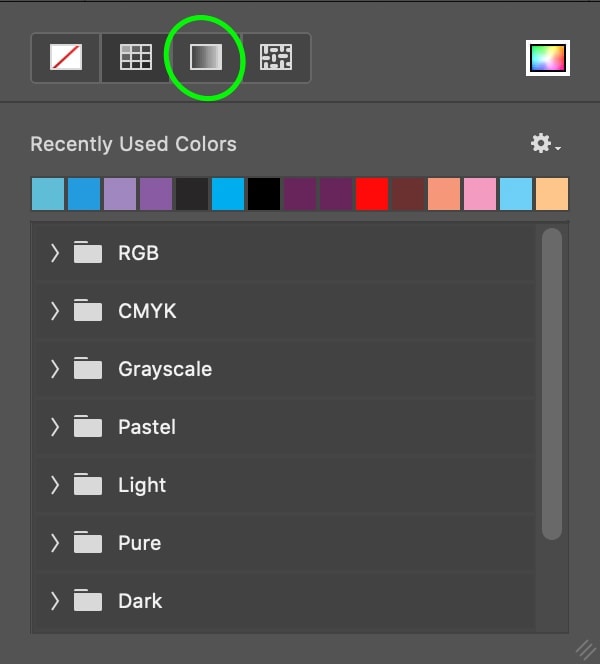
For at present, permit'southward go with a elementary blackness outline.
3. Choose A Stroke Width
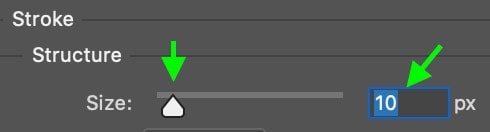
Kinda hard to encounter that outline, isn't it? It's only 1px, but no worries, we tin adjust the width of the outline by clicking the width bar and typing in the width in pixels you'd like your outline to be.
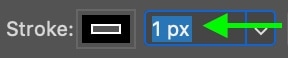
You tin can also click the drop-downward arrow and increase or subtract the width using the slider.
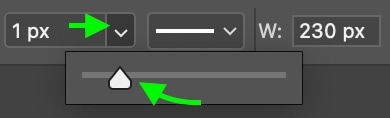
The width should automatically exist set to 1px. Let's modify information technology to 10px.
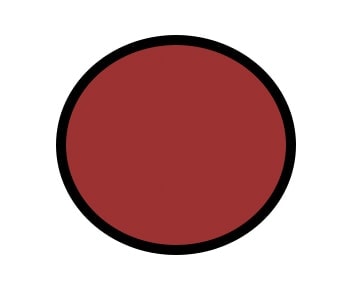
Much ameliorate.
4. Change Your Stroke Blazon
Now, if you want to change your outline from a solid line to something different, click the drop-downwardly arrow adjacent to the solid line. You can choose from solid, dashed, or dotted outlines.
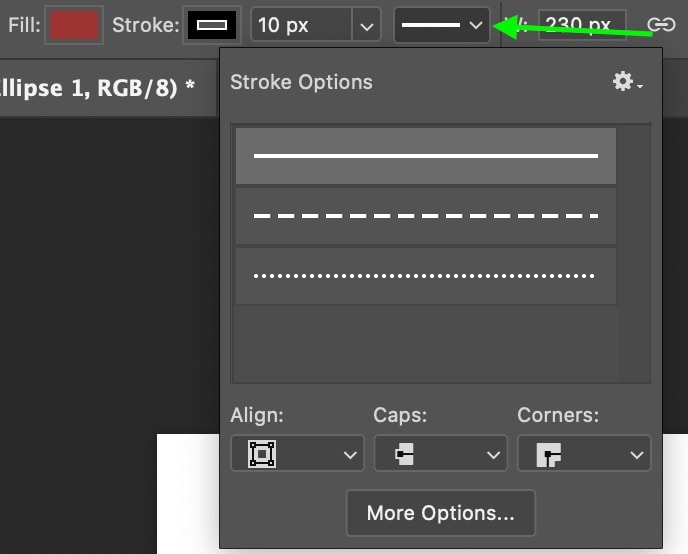
Let's become with dotted.
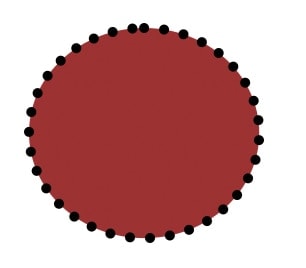
Now we have our shape! Let'due south explore some more edits we can make to the outline of a shape.
How To Outline A Shape With Multiple Colors
When working with shapes, you might want to add together multiple outlines of different colors or styles to raise your epitome. You lot tin can exercise this using the Layer Styles option. First, create your shape and edit the stroke.
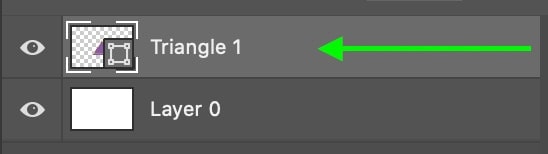
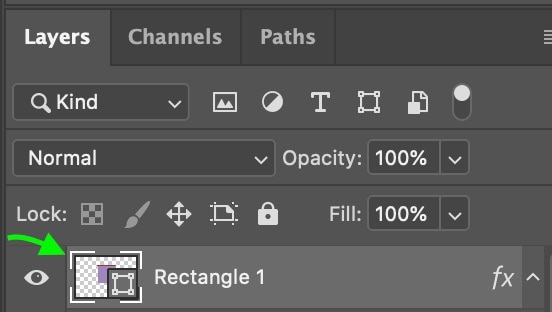
Make certain y'all've got the shape layer selected in the Layers panel to the correct.
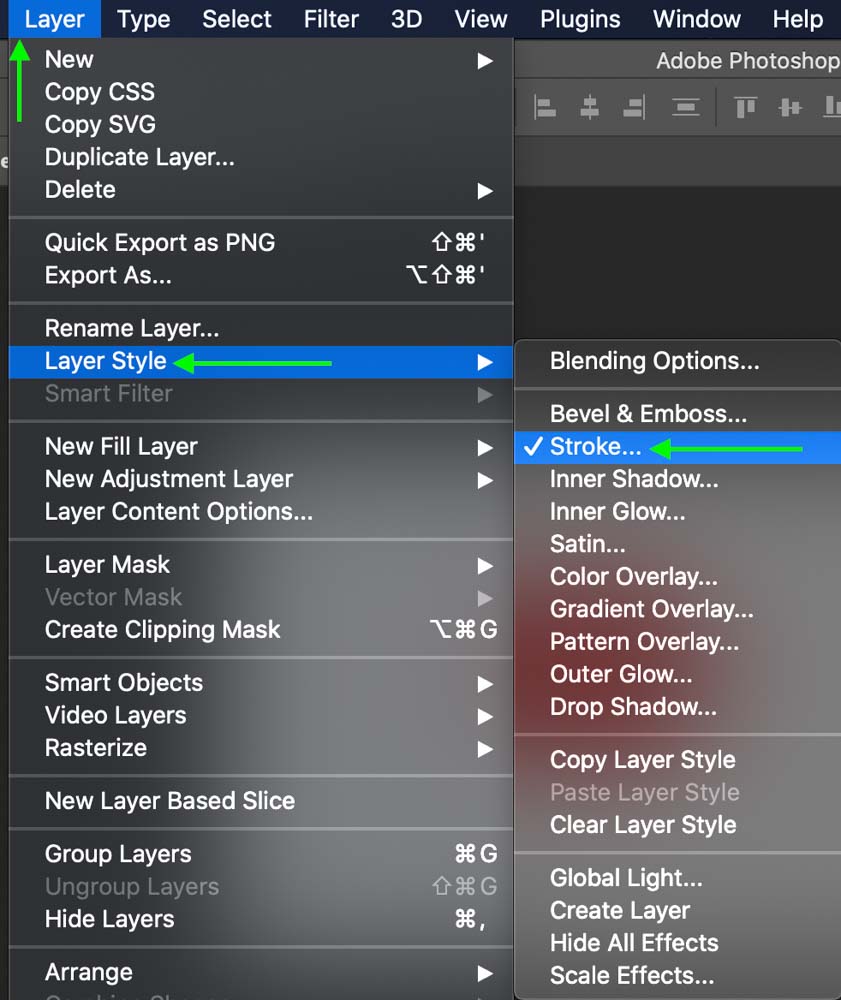
At the peak, click Layer > Layer Styles. You'll meet a listing of unlike ways you lot tin edit the layer. To add some other outline to your shape, click Stroke.
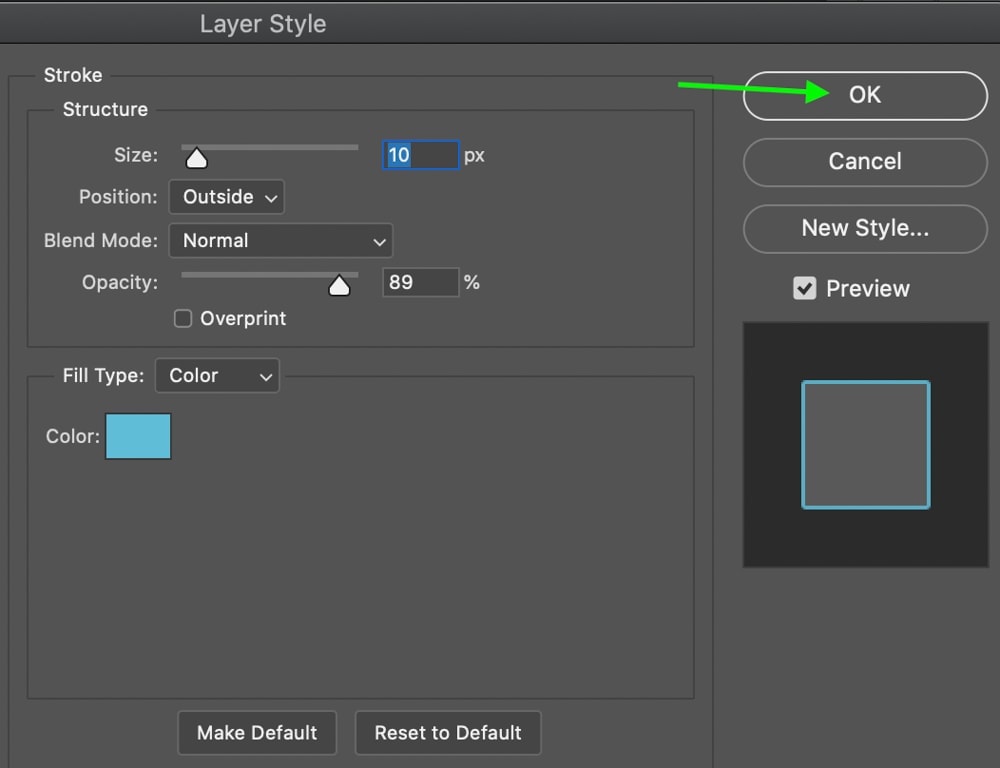
The Layer Style window volition pop up, and it is hither you tin can edit the additional outline you'll add to your shape.
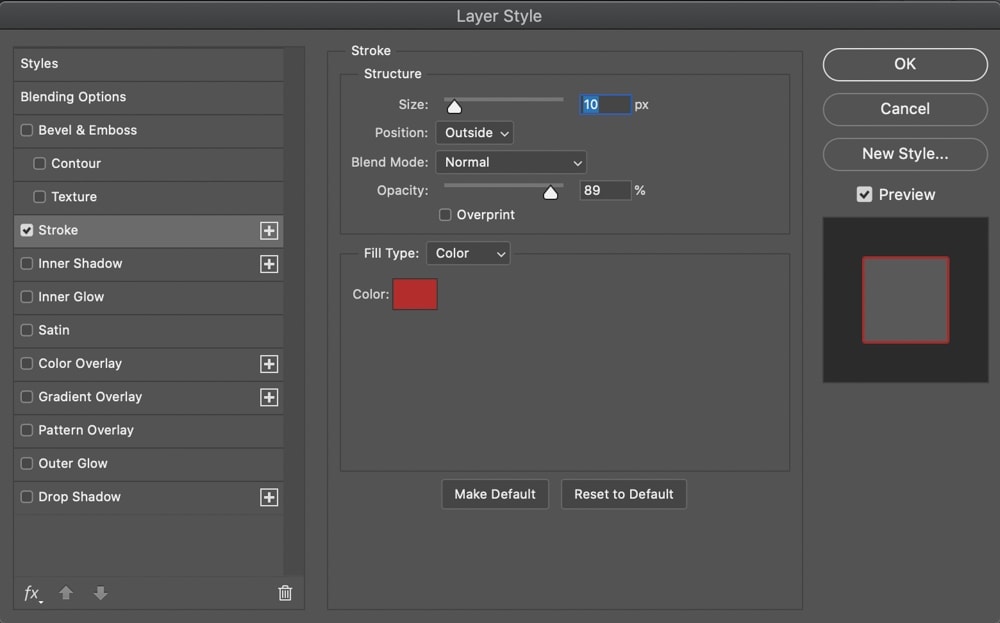
At that place are tons of dissimilar style options here. To outset, you lot can edit the size bar by sliding the arrow or typing in a pixel value.
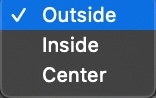
Click the drop-down next to Position and yous'll meet the different options for where your outline can go. You tin can place it inside the shape's original stroke, in the heart, or outside. Select Exterior to add together an boosted outline on the outside of the original. The other positioning options can work well for outlining logos for example.

You can edit the alloy mode and opacity to choose how yous'd similar this stroke to blend with the original.

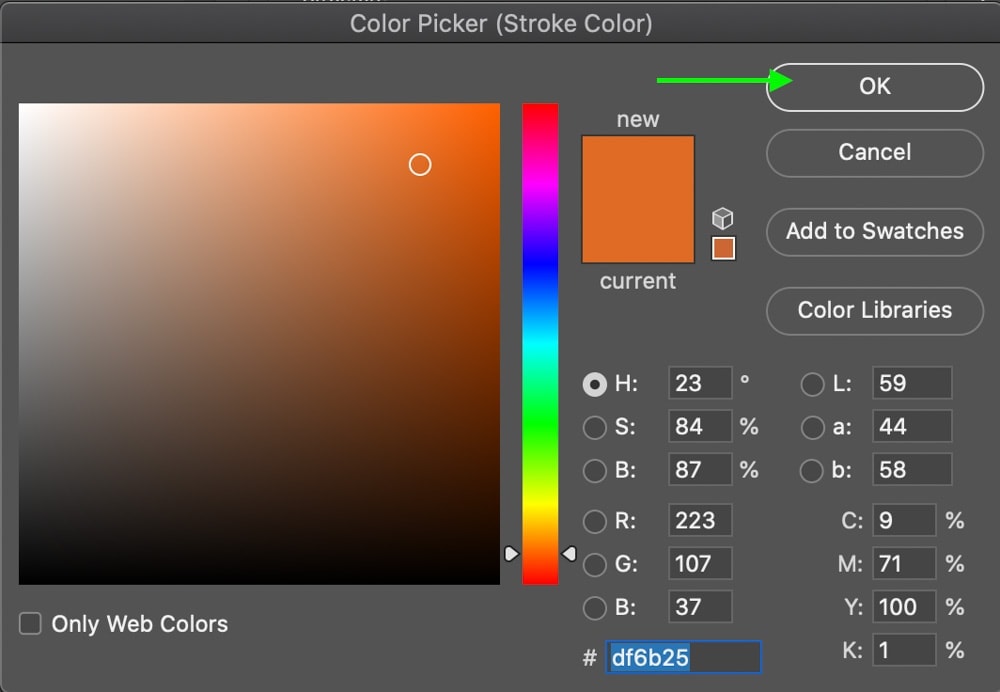
Finally, you can select the colour of the outline using the Color picker. Click OK once you've called the color you want.

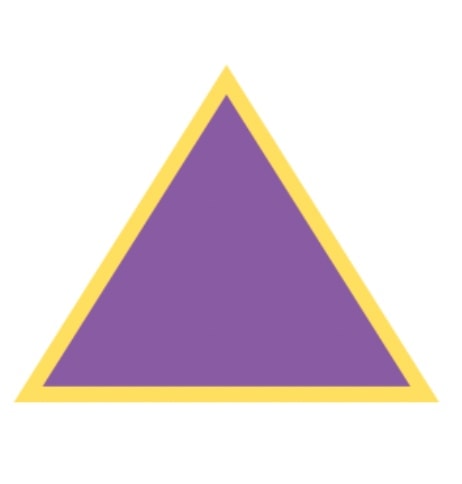
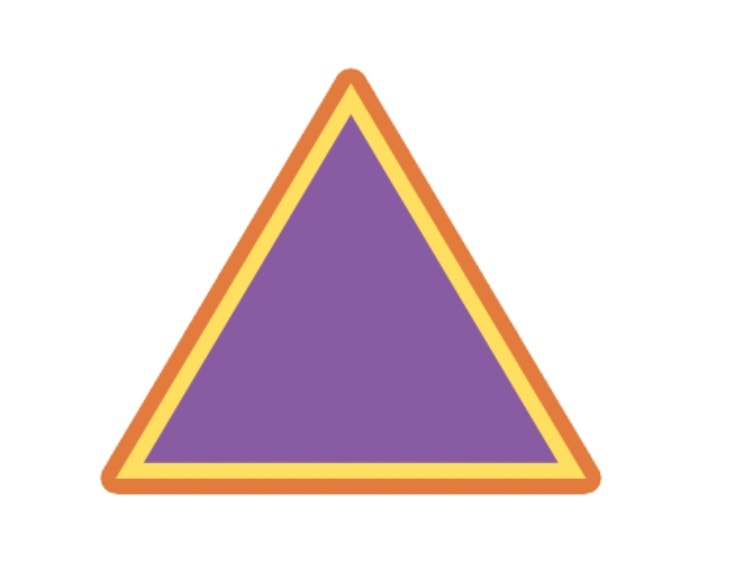
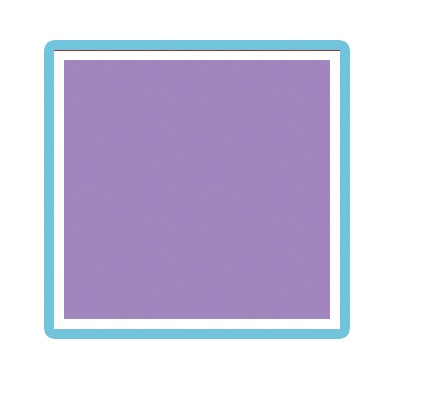
Voila! You accept a shape with 2 different outlines.
How To Create An Outline But Shape
In some cases, you might need to create a transparent shape with a colored outline. To do this, first, create your shape and edit your stroke the way you'd like it to await using the same steps as the offset department.
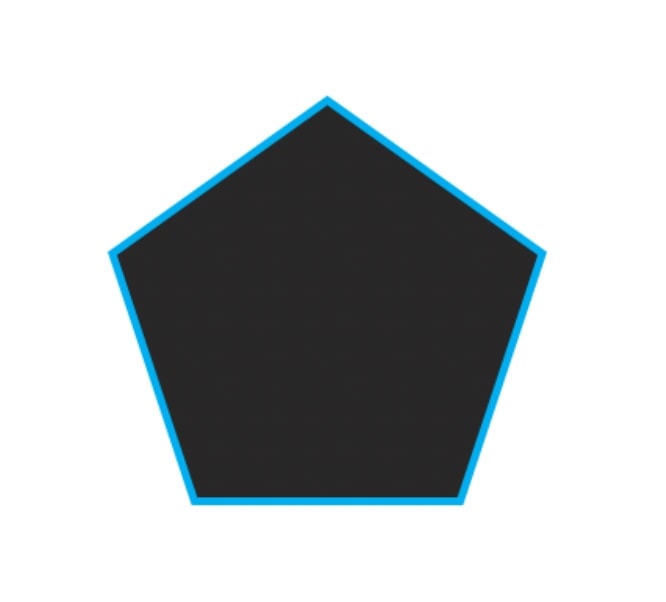
Now that y'all have a shape with an outline, it's time to get rid of the shape's color and make information technology transparent. In the Shape toolbar at the pinnacle, click the colored Fill box.
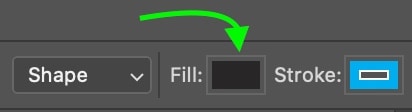
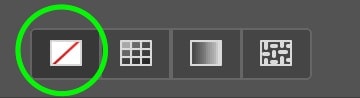
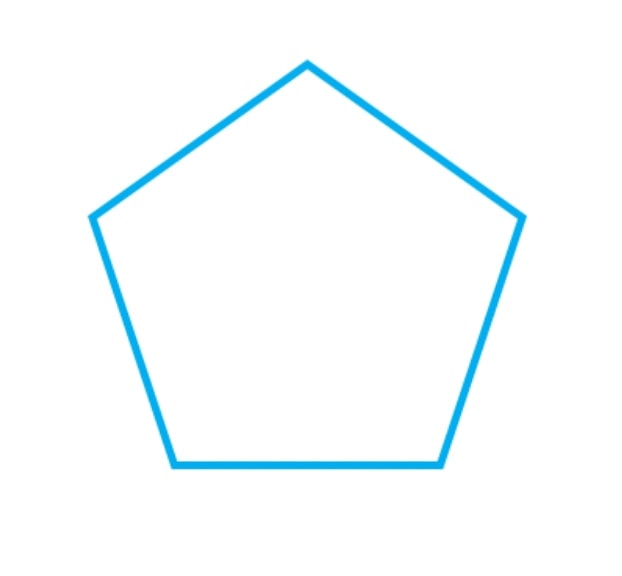
In the window that comes up, you'll see 4 boxes at the peak. Click the first, which removes the color from your shape, making your shape transparent.
If your background layer is colored, the color of your shape volition reverberate the background.
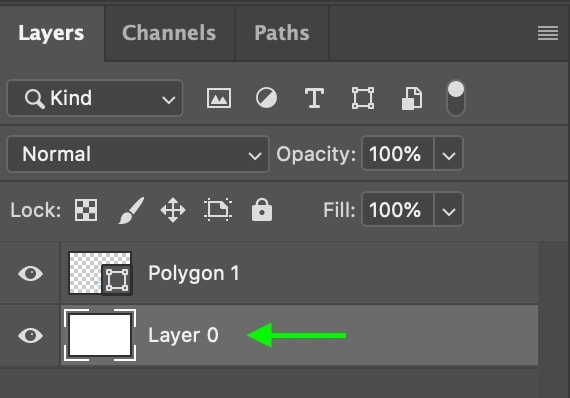
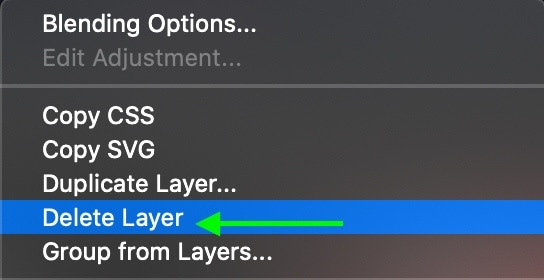
Notwithstanding, your background layer is still there, meaning the shape wouldn't be fully transparent yet if exported at this stage. To make a fully transparent shape, go to the Layers tab and right-click or Control/Command + click the groundwork layer, Layer 0. Of the options that come, click Delete Layer near the summit.
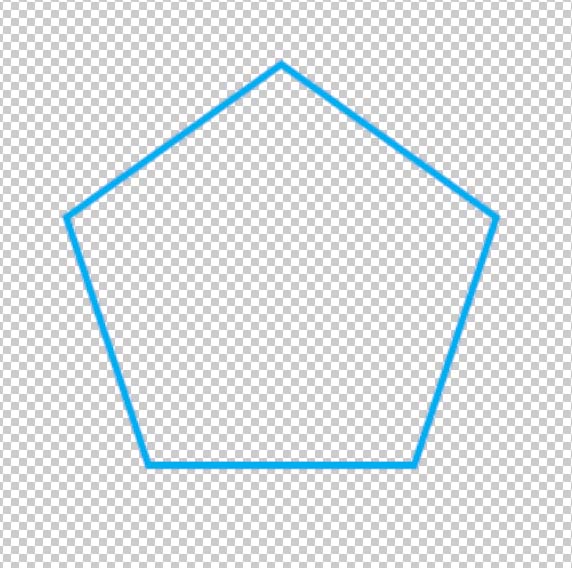
Notice your outline now sits against a checky background, which indicates that the background is transparent. Now, when you export the shape as a PNG, it will exist the outline with a transparent center.
How To Outline A Shape With A Gradient
Of the many different ways yous can mode your outline, a gradient is one pick that can actually unlock your creativity. Once you've created your shape, make certain the Shape icon in the toolbar on the left is selected.
In the Shape toolbar at the top, you can increment the stroke width and then that you tin can better see the appearance of the gradient by entering a pixel value or clicking the drop-down pointer to apply the slider.

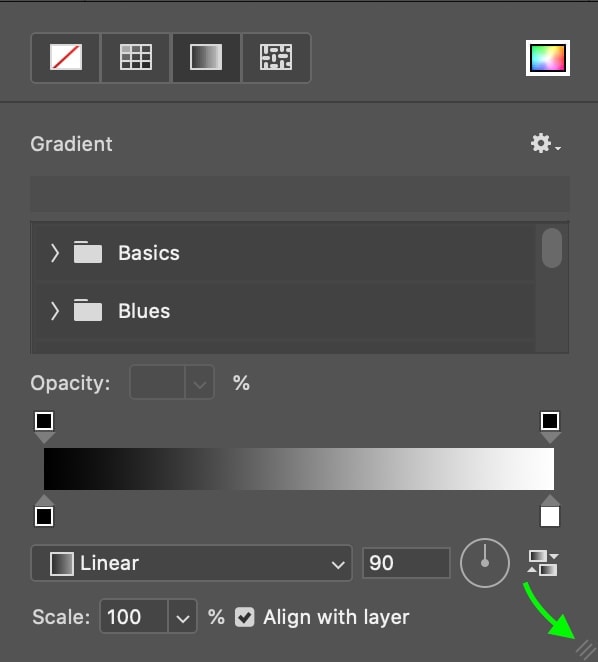
Then, click the box adjacent to Stroke. In the popular-upward window that comes up, click the third box from the left, the one that looks similar a gradient.
Here, you'll see the gradient settings. You can cull 1 of their slope swatches from the provided options. I recommended increasing the size of the window to run into more at once by clicking the lines on the lesser left and dragging the window out. If you're new to using gradients in Photoshop, this post will get you lot up to speed.
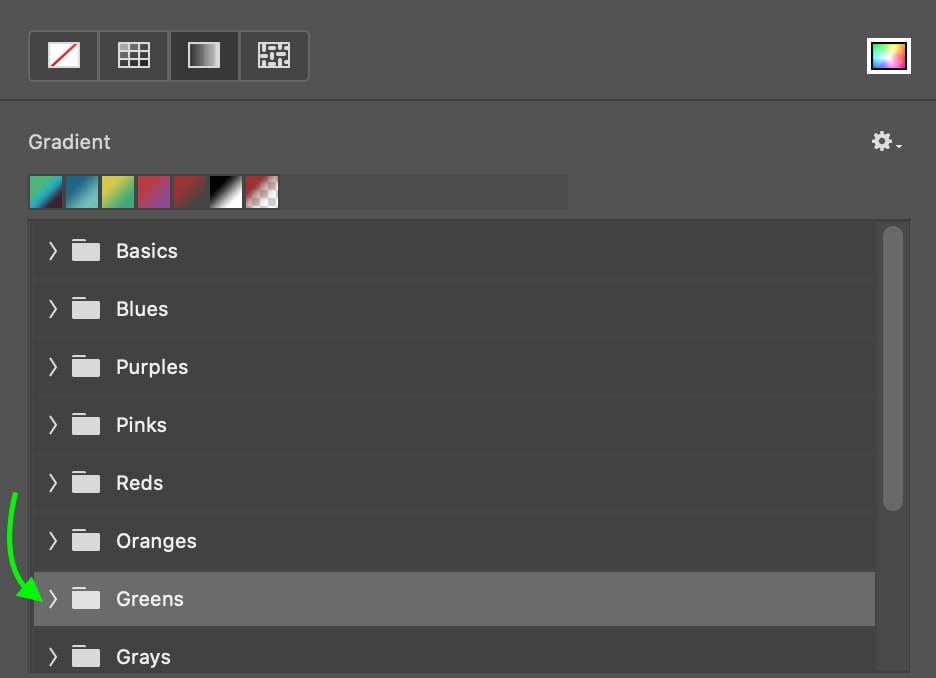
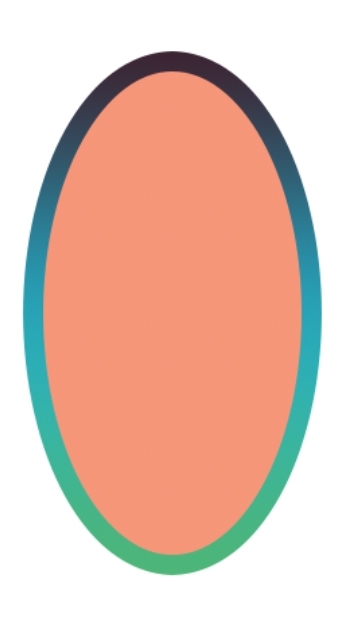
Now you can meet more than options. I'll get with ane of the Greens slope presets. Click the driblet-downwards next to the gradient way to see the different selections.
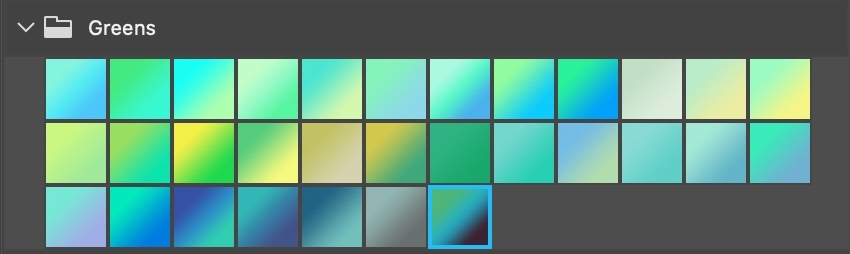
The gradient on your shape's outline will change with your selections.
Y'all can edit the gradient yourself by playing with the different settings. You can edit the strength and amount of each colour by moving the colored swatches at the lesser of the gradient preview.

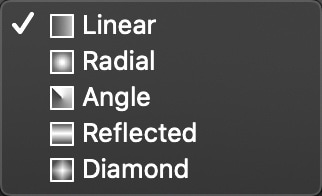
And you tin select the type of gradient you lot want to utilise.
How To Add An Outline Away From A Shape's Edge
If you'd like your shape's outline to sit away from the edge of the shape, you can do this by creating two strokes, styling the outer stroke the way you'd like, and making the inner stroke transparent to requite the appearance of an outline sitting away from the shape's edge.
To do this, follow the same steps every bit the department which explains how to outline your shape with multiple strokes. To recap, you must offset create your shape and edit the stroke'south width in pixels to the corporeality of space you'd like your outline abroad from the shape'due south edge. To do this, create your shape using the shape tool on the left.

Head to the top bar and, in the bar with the stroke'due south width, alter the automated entry from 1px to whatever you lot'd like. For instance, I'd like my final outline 10px abroad from the shape's edge, then I'll change this stroke's width to 10px.

The final production is a 10px thick blackness stroke.
Don't feel the demand to edit the remainder of your stroke's appearance, every bit we will eventually make it transparent.
Next, you'll want to add your 2d stroke, the one that will sit abroad from the edge of the shape. In the Layers tab on the right, make certain you've got the shape layer selected.
At the top, click Layer > Layer Styles. Add another outline to your shape by clicking Stroke.
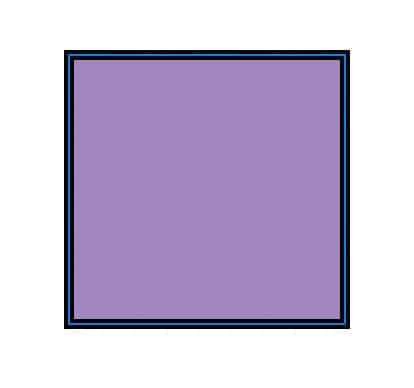
The Layer Manner window will pop up, and you can edit the fashion you'd like your stroke to expect, including the colour, width, and style. Click OK once you're satisfied with your stroke's advent.
Y'all should see both strokes surrounding your shape.

To make the inner black stroke transparent, click the box next to Stroke.

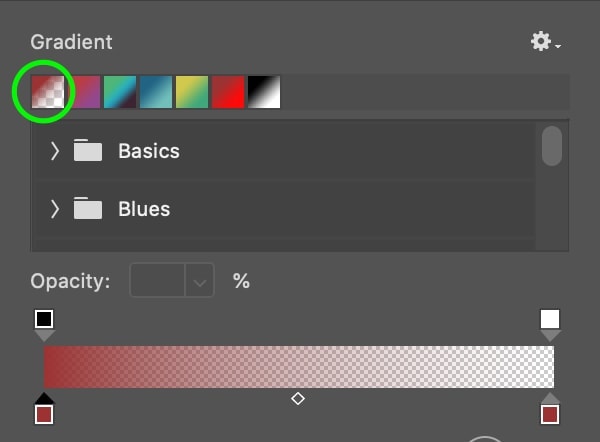
The fill window will pop up. Click the tertiary box, which will take you lot to where y'all can create a gradient.
You'll see some options for gradients here. Click the foreground to transparent gradient which has a transparent department. This is represented by a gray and white checkered pattern.
In the gradient slider at the bottom, motion all the arrows at the superlative and lesser towards the transparent section.
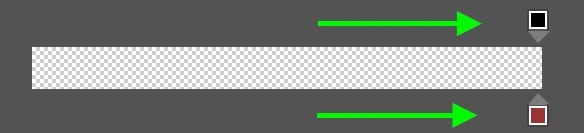
This will make the inner stroke entirely transparent, and you should at present come across an outline sitting away from the edge of the shape.
How To Outline A Rasterized Shape
When you rasterize a layer, you're converting the vector layer – the epitome every bit it's made up of geometric formulas, which are incompatible with some types of editing – to pixels. Rasterizing a layer is useful every bit it allows you to edit in ways you tin can't otherwise by assuasive you to edit the actual pixels.
The downside of rasterizing a shape is that the edges of the shape appear pixelated instead of sharp, creating a fuzzy appearance. Still, this just really becomes an outcome when yous are scaling these shapes in your projection. The other issue with rasterized shapes is that all of your shape settings no longer utilize to the rasterized shape. Instead, all of the color and stroke settings are baked into the layer and can no longer be edited.
Luckily, in that location's a workaround to this if you need to outline these shapes!
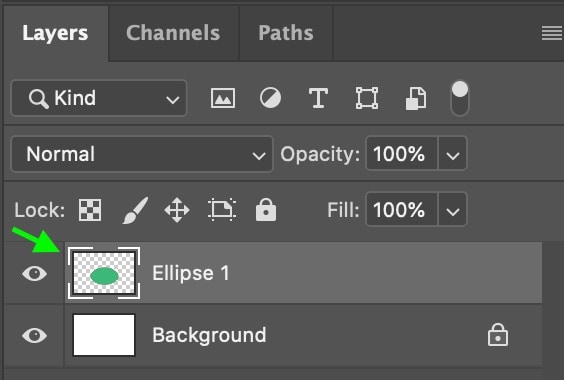
Once the shape is rasterized, press Command on a Mac or Control on a PC and, in the Layers tab, click the shape layer thumbnail to select information technology.
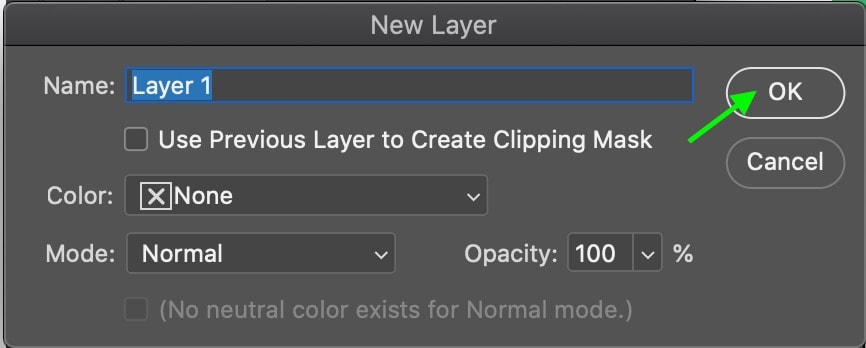
And so create a new layer by going to Layer > New > Layer, or pressing Shift + Control (or Control on a PC) + N.

In the box that comes up, click OK.
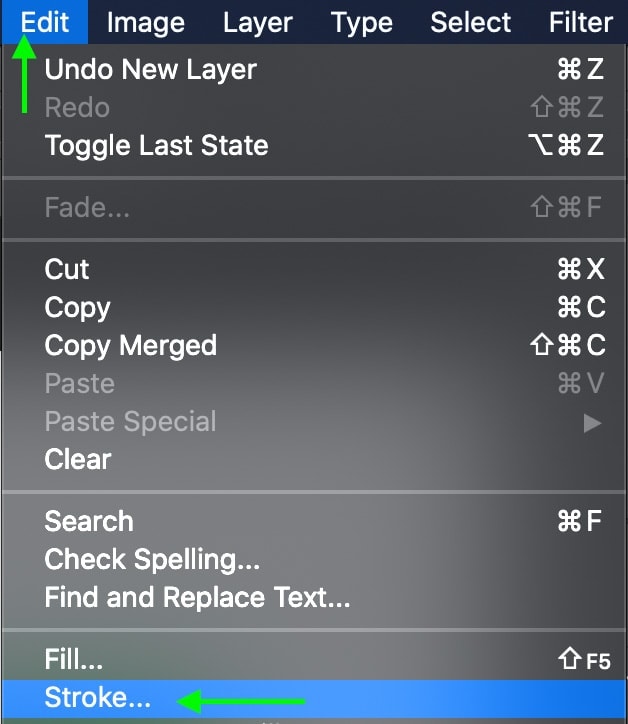
Side by side, become to Edit > Stroke.
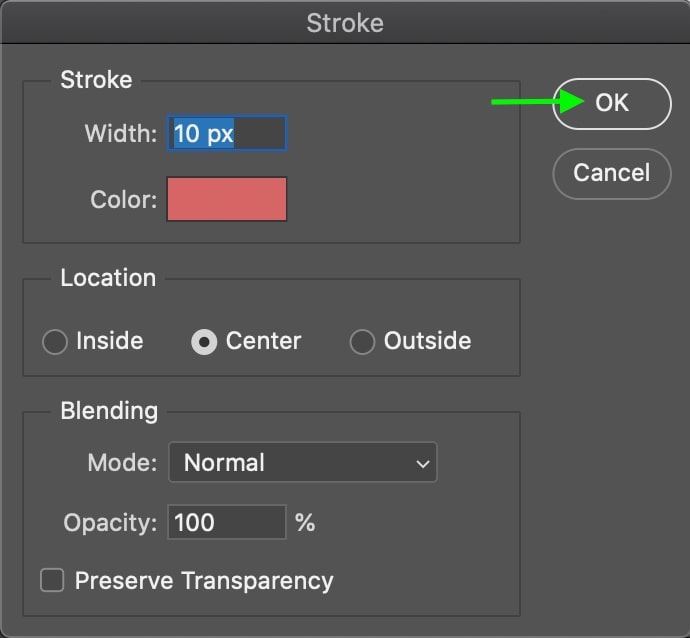
In the box that comes upwards, edit the way you lot'd like your stroke to look and click OK when you're washed.
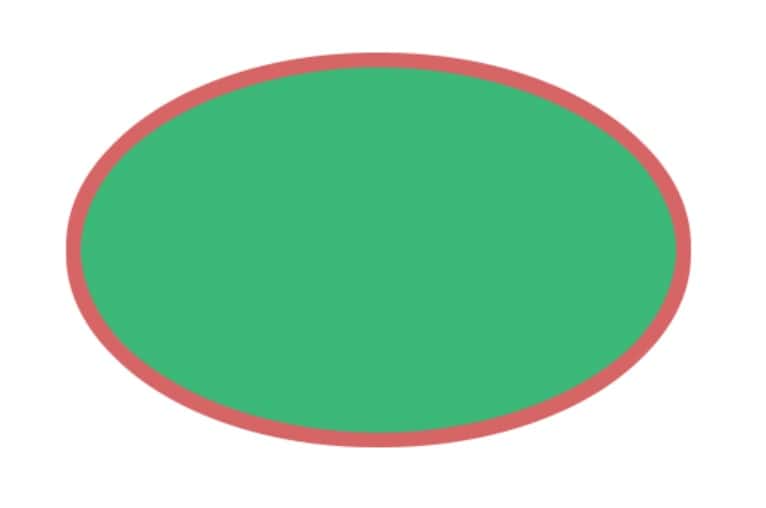
Voila! You'll run across the rasterized shape with an outline.
There are many purposes shapes can serve in Photoshop, and it's likely at some signal you lot'll want to know how to piece of work with them. You can brand your shapes pop by adding outlines with the stroke tools. Understanding all the different means you can stroke a shape and the various options for editing your stroke will give you total creative freedom over the shapes in your projection. Now that you have shapes nailed downwardly, let's talk nearly how to outline a person in Photoshop!
Happy Editing!
Source: https://www.bwillcreative.com/how-to-outline-any-shape-in-photoshop/
Posted by: lewiskingince.blogspot.com
0 Response to "How To Put The Shapes On A Particular Texture In Photoshop"
Post a Comment